The 13 Steps
Every diagnostic job follows the same proven process. From vehicle entry to final validation — nothing gets skipped, nothing gets missed.
Never Miss A Step
DiagFlow’s 13-step process is built from decades of real shop experience. Every step has a purpose. Skip one and you risk misdiagnosis, comebacks, and wasted time.
🤖 AI-Assisted Analysis
The AI is available after you do the work. It will show orange when you get enough steps complete. We use the data you input to get a good response. No silver bullets.
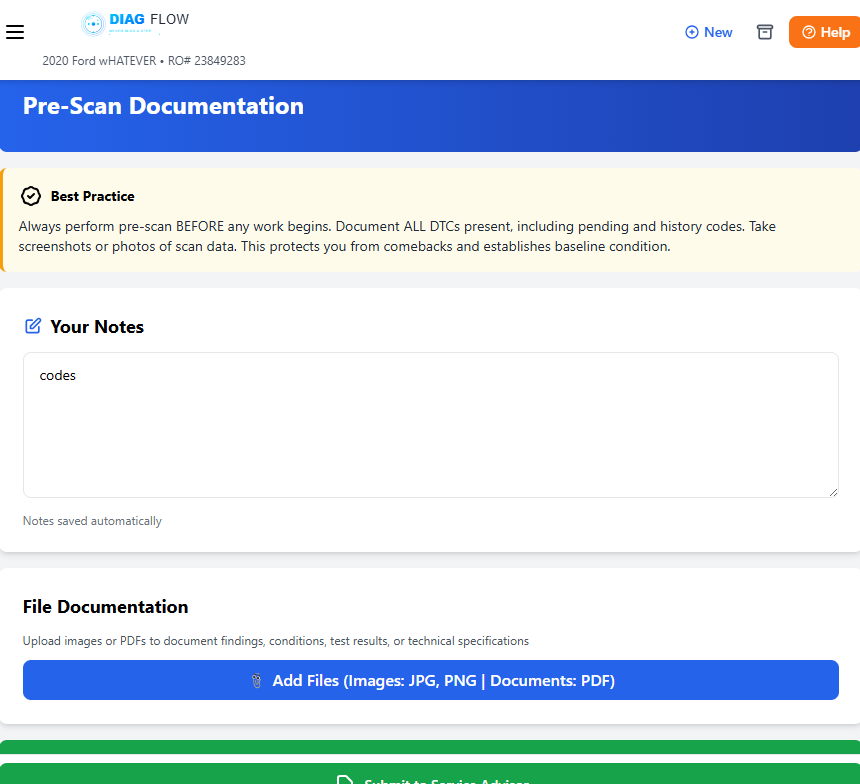
1 Pre-Scan and Documentation
Capture the vehicle’s electronic state before any work begins. Full-system scan — engine, transmission, ABS, BCM, SRS, all modules. Document every DTC: current, pending, and history. This is your baseline.
Pro Tip: Always pre-scan BEFORE touching anything. Take screenshots of scan data. This protects you from comebacks and proves the vehicle’s condition at intake.
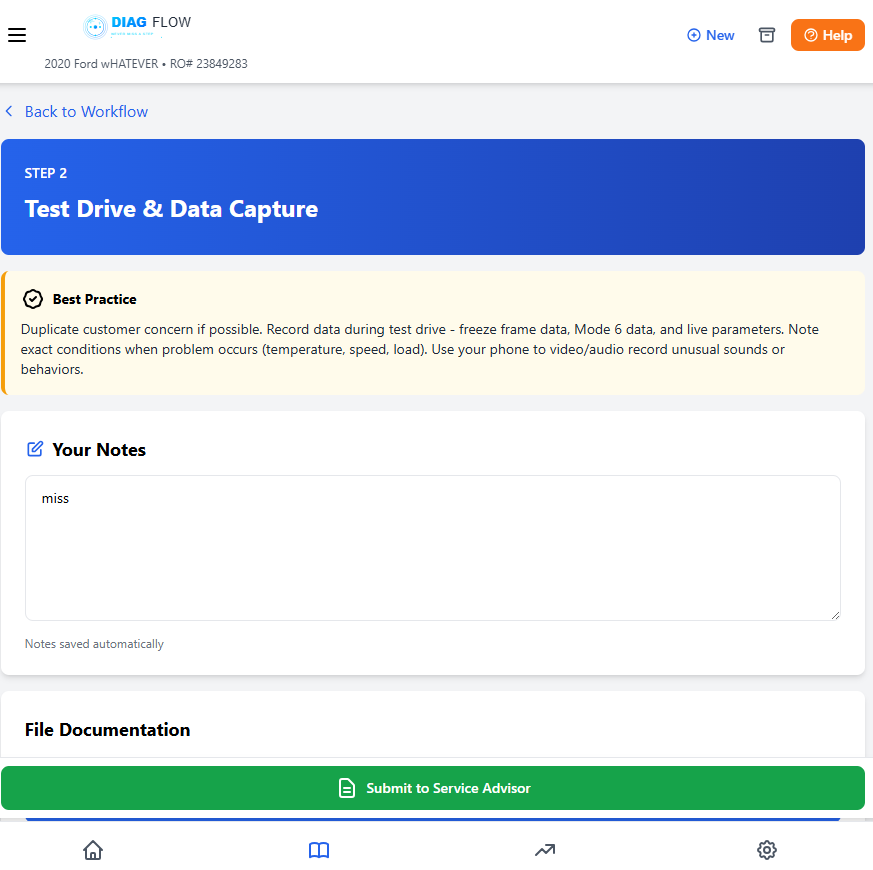
2 Test Drive and Data Capture
Get behind the wheel. Verify the customer’s concern under real driving conditions. Capture trims at idle, light throttle, and loaded — this tells a story. Note RPM, speed, temperature, and load when symptoms appear.
Pro Tip: Always capture Trims, at idle, light throttle, and loaded. This can tell a story.
Fuel Trim Capture
| Condition | STFT B1 | LTFT B1 | STFT B2 | LTFT B2 |
|---|---|---|---|---|
| Idle | ____% | ____% | ____% | ____% |
| Light Throttle | ____% | ____% | ____% | ____% |
| Loaded | ____% | ____% | ____% | ____% |
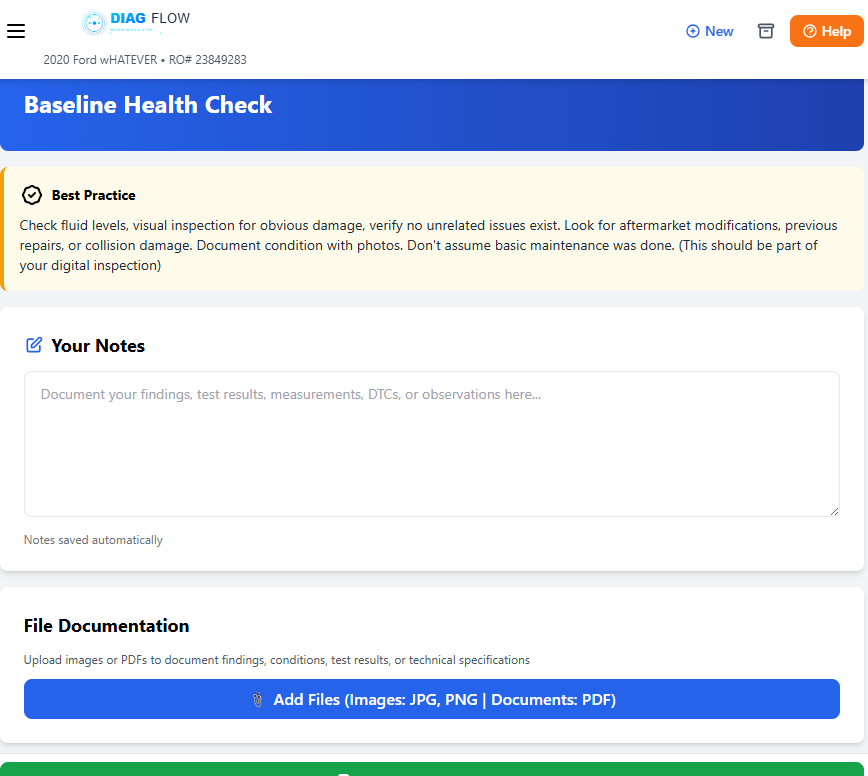
3 Baseline Health (DVI)
Digital Vehicle Inspection — assess the overall health of the vehicle. Check fluids, belts, tires, brakes, lights, wipers. This isn’t just diagnostics, it’s a complete health snapshot. Catch the things the customer doesn’t know about.
Pro Tip: DVI builds customer trust and revenue. Document with photos.Knowing the vehicle is the beginning of your diagnosis as well.
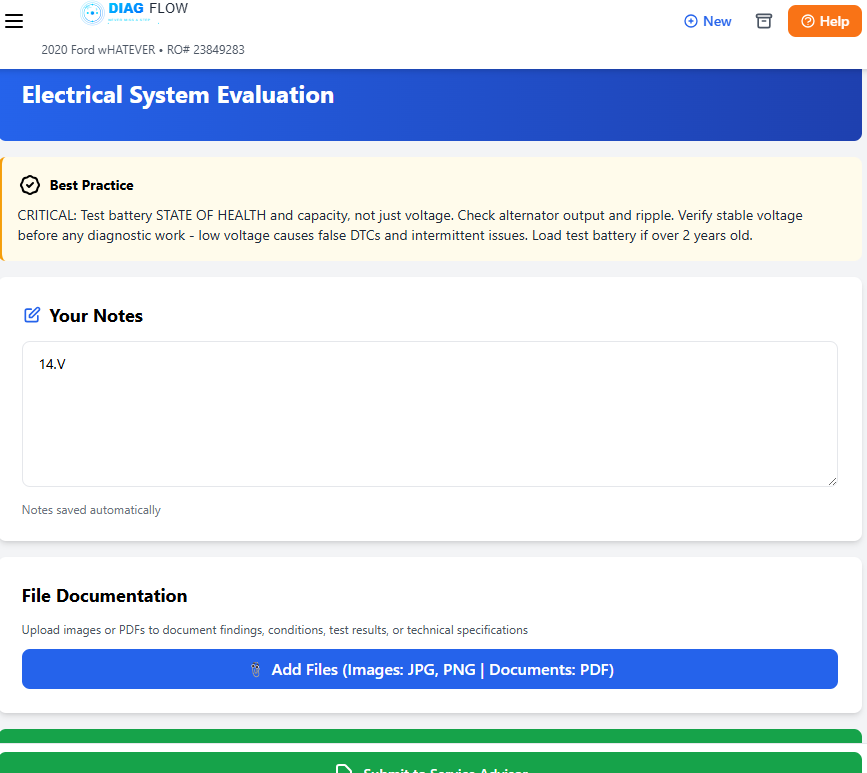
4 Electrical System Evaluation
Battery voltage, charging system output, parasitic draw, ground integrity. The electrical system is the foundation everything else runs on. If it’s compromised, every other test result is suspect.
Pro Tip: Check battery voltage with engine off AND running. Test grounds with voltage drop, not just resistance. A 0.5V drop on a ground can cause symptoms that mimic sensor failures.

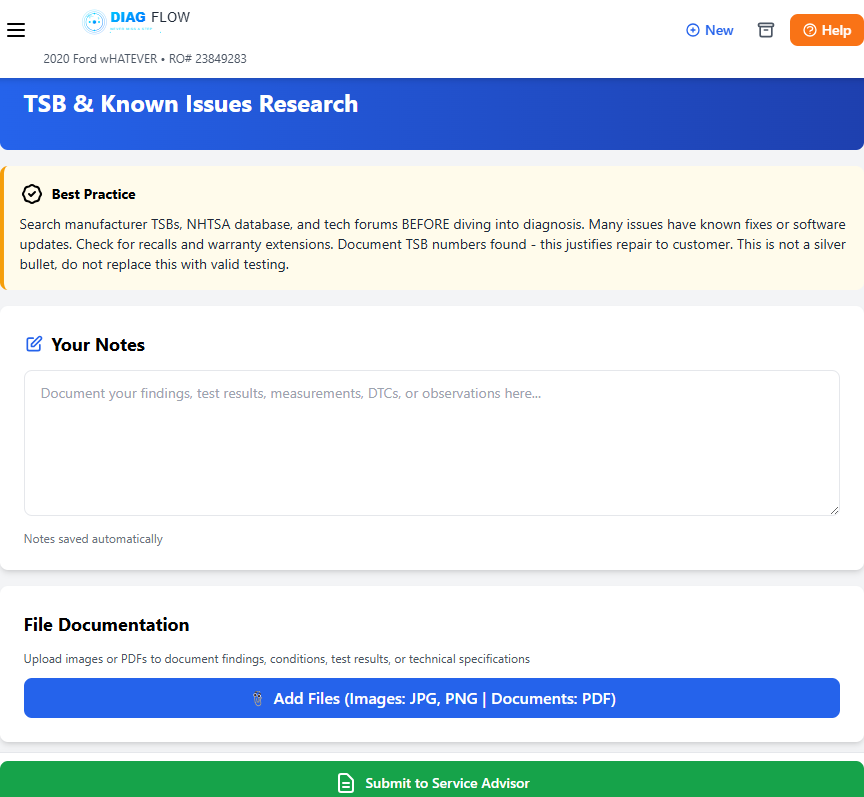
5 TSB & Pattern Failure Research
Search manufacturer TSBs, NHTSA database, recalls, and tech forums. Many issues have known fixes, software updates, or warranty extensions. Research before you reinvent the wheel.
Pro Tip: Document TSB numbers — this justifies the repair to the customer. But a TSB is not a diagnosis. It’s a lead. Don’t skip testing because a TSB matches.
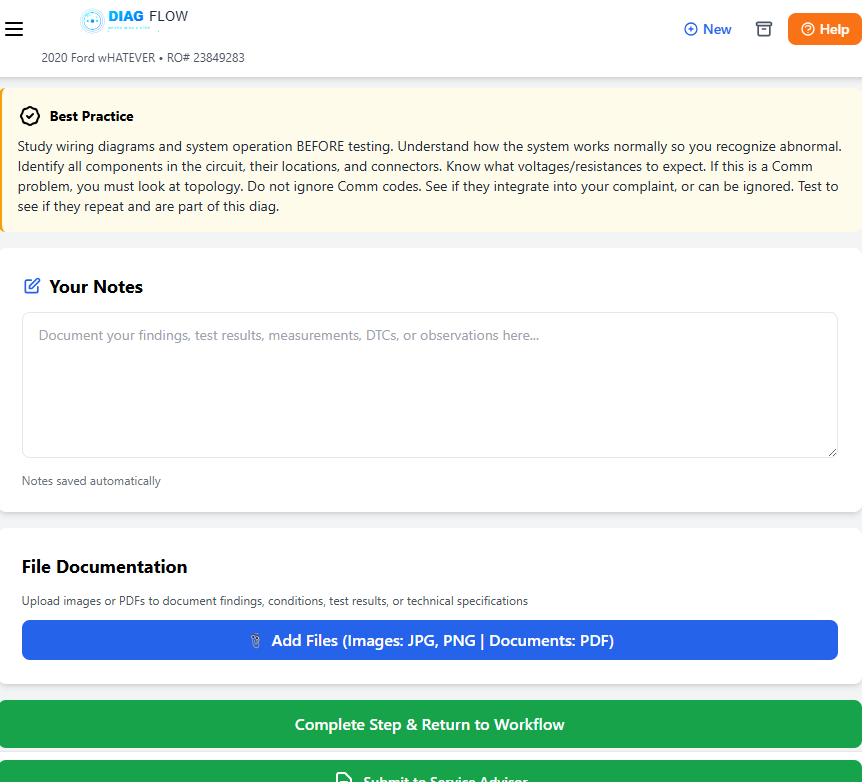
6 Wiring Diagram & System Operation
Pull the wiring diagram. Understand how the system actually works before you start testing it. Know the inputs, outputs, power feeds, and grounds. If you don’t understand the circuit, you can’t diagnose it.
Pro Tip: Trace the circuit on paper first. Identify where you can access test points. Know what voltage, resistance, or signal you expect at each point BEFORE you probe.
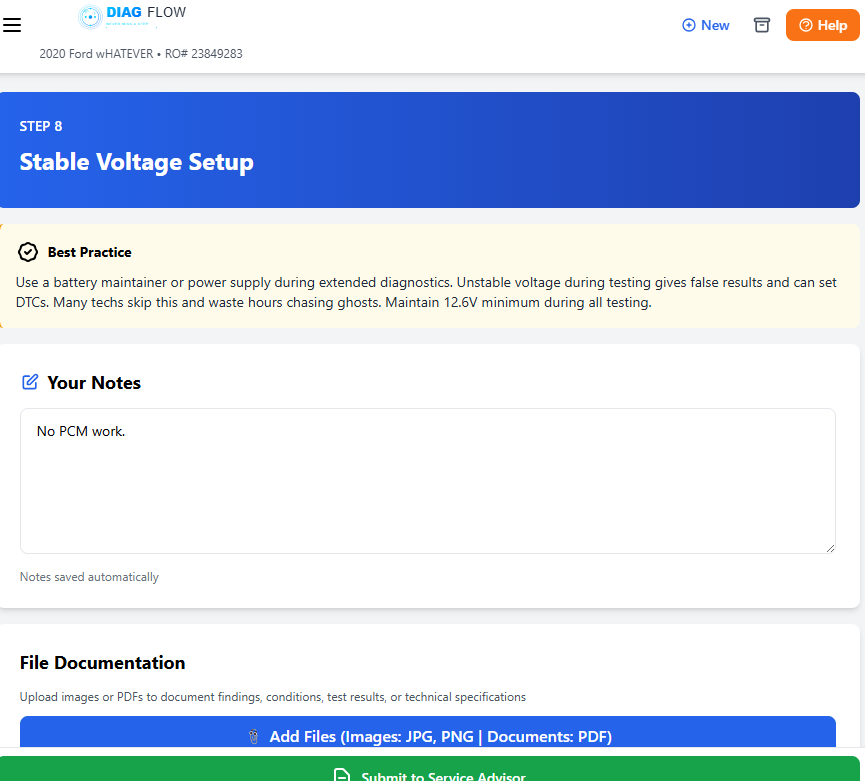
7 Stable Voltage Setup
Before precision testing, ensure the vehicle has stable, clean voltage. Connect a battery maintainer or charger. Unstable voltage corrupts scope readings, sensor outputs, and module communication. This step is often skipped — and it shouldn’t be.
Pro Tip: A 0.2V battery sag during testing can throw off your results. Stable voltage = reliable data and critical for Flash events.
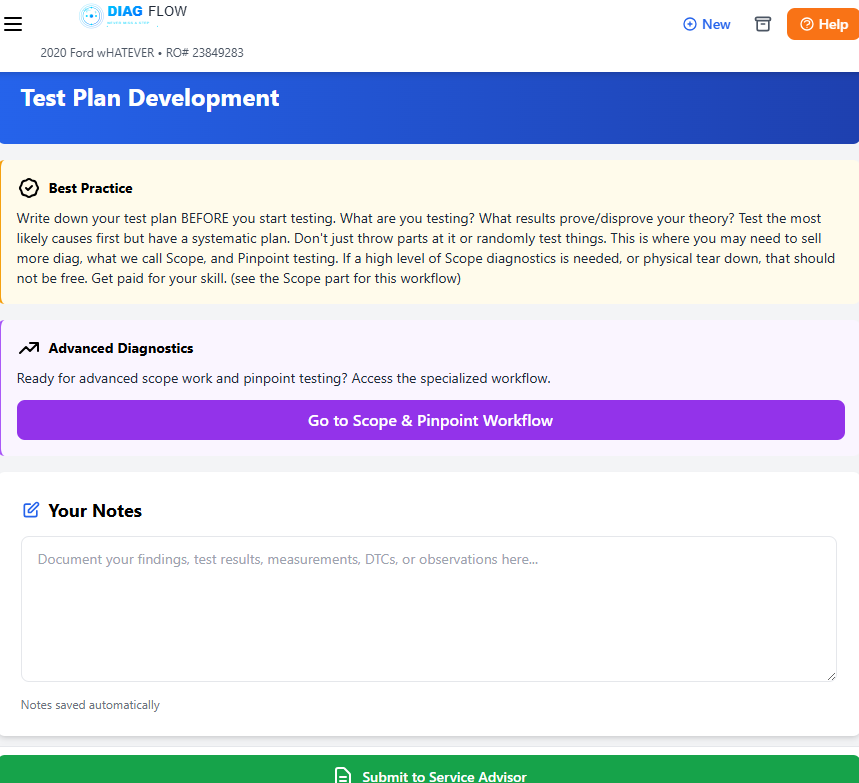
8 Test Plan Development
Based on everything so far, plan your tests. What will you measure? What tools do you need? What results confirm or deny your theory? A plan prevents random testing and wasted time.
Pro Tip: Write it like a recipe. Step-by-step with expected values. If you get the expected result, move to the next test. If not, reassess your theory.
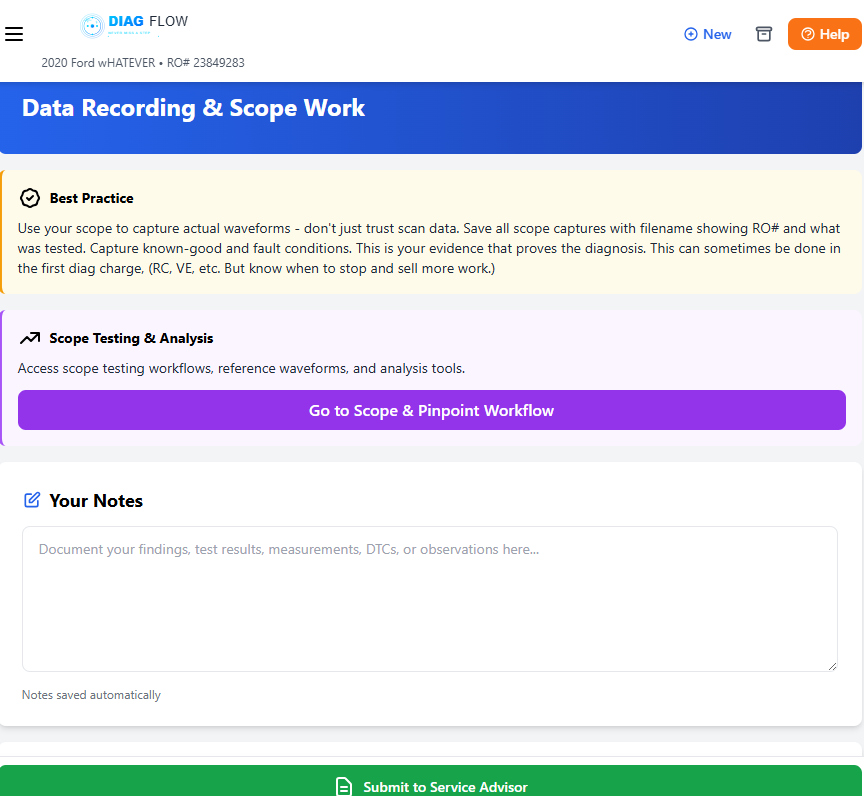
9 Data Recording & Scope Work
Execute your test plan. Use the right tools — multimeter, scope, scan tool, pressure transducer. Record every measurement. Save waveforms. This is where relative compression, cam/crank correlation, and signal integrity testing happen.
Pro Tip: Save your waveforms and screenshots. Upload them to the job record. See the Scope Library for waveform examples and analysis techniques.
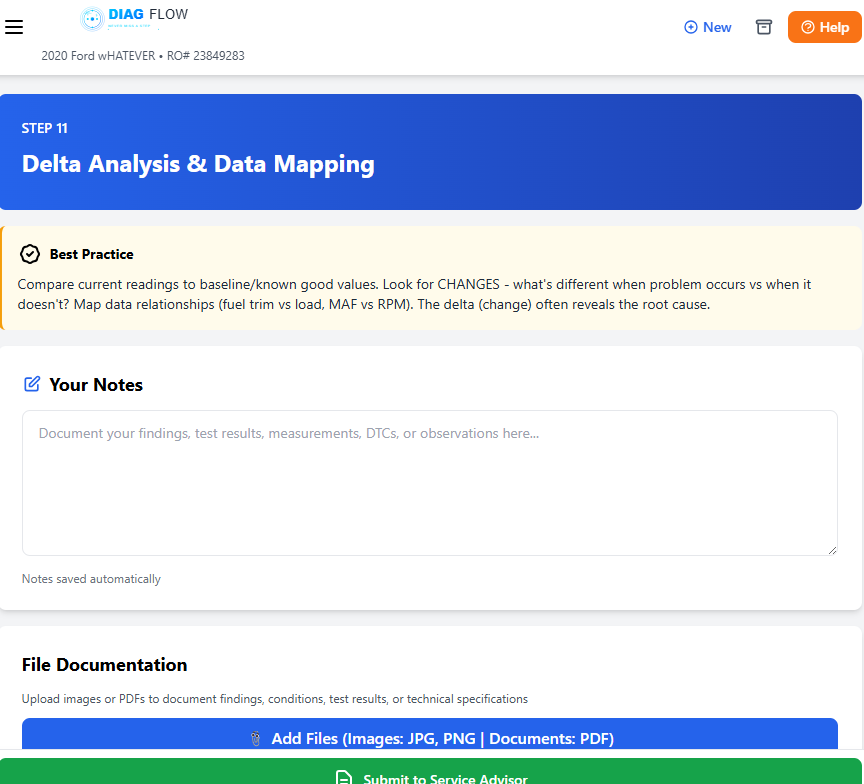
10 Data Analysis & Data Mapping
Review all collected data. Map sensor readings, waveforms, and test results against known-good values. Cross-reference findings. This is where patterns emerge and the root cause becomes clear.
Pro Tip: Overlay your data. Compare left bank to right bank. Compare your readings to specs. The answer is in the data — you just have to see the pattern.
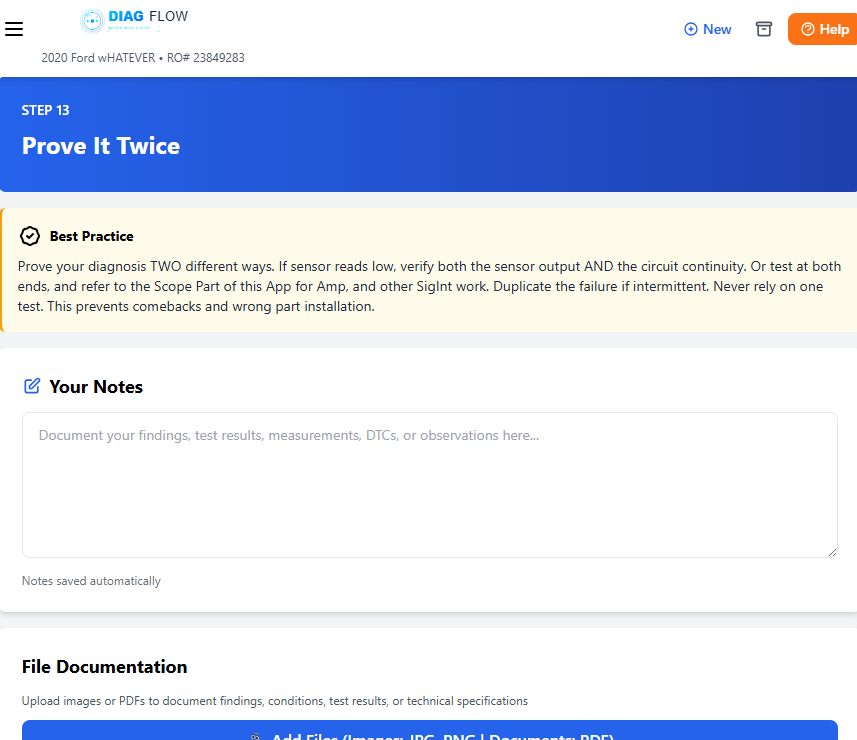
11 Prove It Twice
Prove your diagnosis TWO different ways. If a sensor reads low, verify both the sensor output AND the circuit. Test at both ends. Duplicate the failure if intermittent. Never rely on one test.
Pro Tip: The courtroom test — if you had to defend your diagnosis in front of a judge, would two independent tests hold up? That’s your standard.
12 Repair and Parts
Now — and only now — do you order parts and begin repair. You’ve verified the symptom, tested the system, and confirmed the failure twice. Document what you’re replacing and why.
Pro Tip: The parts section also has a labor tick that can be used when you know the time you need for this job.

13 Post Repair Validation
After the repair, verify the fix. Clear codes, test drive, re-scan. Confirm the symptom is gone and no new codes appeared. Compare post-repair data to your pre-scan baseline. The job isn’t done until validation is complete.
Pro Tip: Run the same tests you used to find the problem. Compare before and after. Document the improvement. This closes the loop and prevents comebacks.
Ready to work this way?
DiagFlow puts the 13 Steps in your pocket. Every job, every tech, every time.
Get DiagFlow